| The Finch Robot 2.0 helps STEAM-minded educators create unique and extensive coding opportunities for students throughout the K-12 grades to explore icon-based, block-based, or text-based programming.
1. The Finch Robot 2.0 is powered by the micro:bit and now includes some new accessories. |
The Finch Robot 2.0 perfectly helps educators add student-centered versatility to STEAM and makerspace lessons. We’re still excited about the Finch 2.0 and definitely recommend trying it out for anyone in charge of teaching elementary coding. If you haven’t tried this robot yet, it truly offers a robust set of possibilities for teaching computer science at almost any grade level. The Finch 2.0 has a similar design to the original Finch but helps students accomplish so much more. With its six modes of programming and processing power from the micro:bit, the Finch 2.0 is one of the only coding robots for AP computer science.
The Finch 2.0 also features a centrally located marker slot in which students can place a marker after they write programs. Depending on their program, the robot will draw out a picture or a diagram as it completes each step, moving in a straight line, a circle, or any other shape! This feature helps make the robot viable in an art class as one example. It also has greater viability in early education math classes as students learn and talk about different types of shapes. Combining different realms of art and technology also helps make certain STEAM tools, especially the Finch 2.0, more valuable in our opinion and it’s also a great way to fully keep students engaged. And, we should also mention that the Finch Robot 2.0 is designed for all students from kindergarten to college.
Getting started with the Finch 2.0.
Since it’s powered by a micro:bit, students can incorporate some of the micro:bit’s features. Programs they design in MakeCode can involve using its accelerometer, radio, compass, and buttons, adding some extra elements for STEM engagement. Students could also write on the surface of the Finch 2.0 with whiteboard markers and it features a small space on its top side for connecting plastic bricks that allows educators to extend Finch Robot lessons to include engineering.
To get started with the Finch 2.0, there are two critical pieces: a micro:bit and a device. The micro:bit V2 is the robot's processor and there’s a slot in its tail for students to insert their micro:bit. There is the option to purchase a Finch 2.0 with a micro:bit board included, you can order a micro:bit separately or, if you already have one, you’re good to go. In terms of Finch 2.0 device compatibility, it works with Chromebooks, Macs, and Windows computers as well as iOS, Android, and FireOS tablets. Each Finch Robot 2.0 even features Bluetooth capabilities and an integrated rechargeable battery that lasts up to seven hours. You’ll just need this .hex file downloaded to set up your micro:bit with your computer.
Finch 2.0 features.
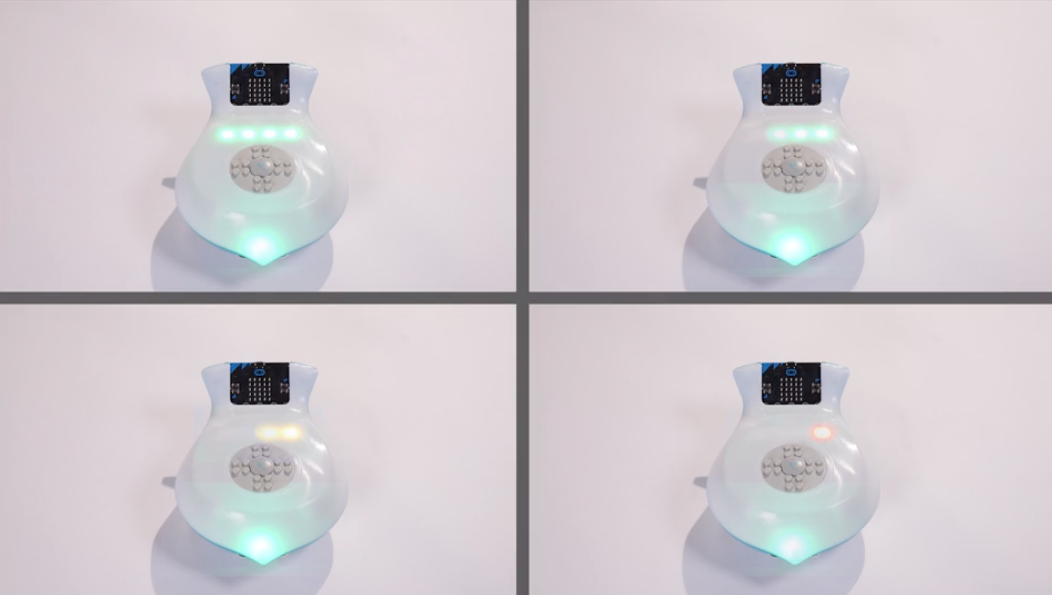
When booting up, the Finch 2.0 will indicate whether or not it needs any charging. Upon powering on, it will display its battery level by lighting up the LEDs on its tail. If all four LEDs light up in green, their Finch 2.0 is fully charged. If just three of them are green, the Finch is partially charged. And, if two LEDs light up yellow, that means the battery is low and you have about two hours left. Finally, if only one of the LEDs lights up, it will be red. This means that you need to charge your Finch before using it. Students can connect their USB cable to the slot in the back of the robot to charge it.
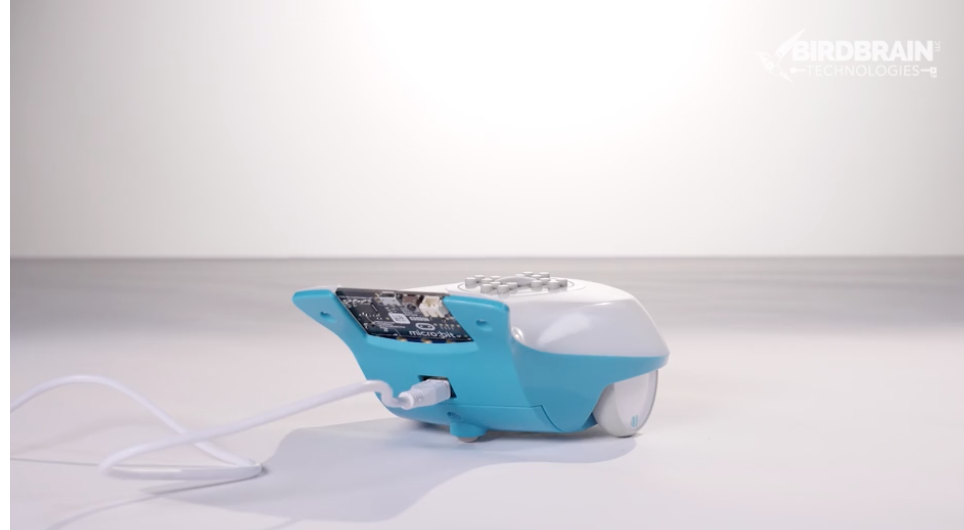
Beyond that, the Finch Robot 2.0 provides plenty of programming opportunities thanks to its six different coding environments. The different coding environments present something for students with all kinds of coding experience and definitely contribute to making the Finch 2.0 a legitimate coding tool at all levels of education. The languages are FinchBlox, which the BirdBrain minds created specially for the Finch 2.0, BirdBlox, MakeCode, Snap!, Python, and Java. These options start off with icon-based coding for young students, work in block-based coding once they get more skilled, and, ultimately, culminate with detailed text-based coding in Python or Java when they’re older!
Getting started with simple coding.
FinchBlox is an Android, Kindle, iPhone, and iPad app that students between the ages of 5-9 could use with the Finch 2.0. They can even use it as pre-readers since it is icon-based. Its three different levels help any teachers who are gradually introducing students to coding concepts and the computational thinking process. Throughout Level 1, for example, students can practice sequencing by connecting various blocks to control the robot’s movements and direction.
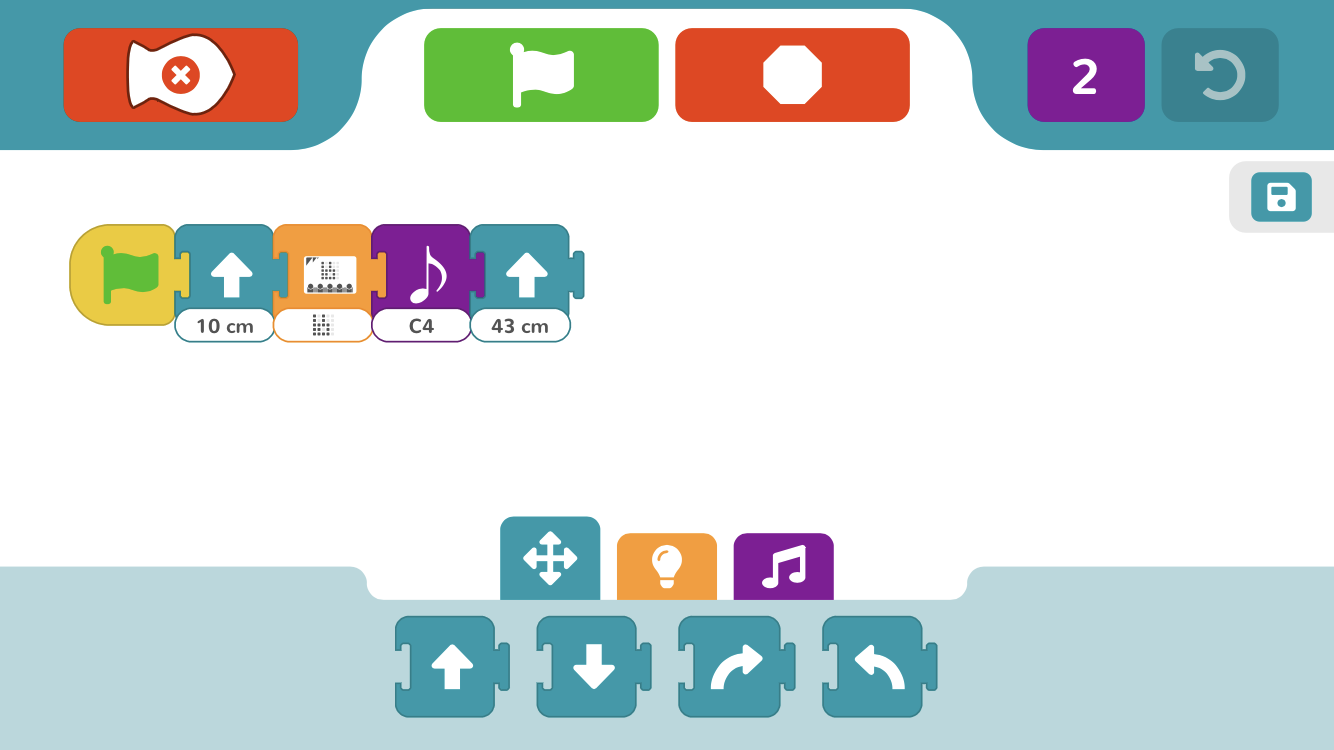
In Level 2, they can learn about parameters with the addition of slider blocks that can control their robot’s movements in a more precise way. Instead of simply turning left, for example, they can program the robot to turn 35 degrees to the left or tell the robot to move forward exactly 10 centimeters. Then, once in Level 3, there are more parameters available, including loops. They can try using loops to control the robot and make it repeat certain actions or entire programs. Check out these more in-depth instructions for using FinchBlox with the Finch Robot 2.0.
BirdBlox is another app compatible with iPhones or iPads, Android devices, and Kindle devices. It features block-based coding that is similar to Scratch and Snap! and enables students to control the robot’s LEDs, motors, and more. They can also connect their micro:bit to BirdBlox and explore the various programming options within the app. Then, students can easily drag blocks into the program, tap blocks to start running a program, or the stop sign to end a program. Learn more about setting up BirdBlox on the BirdBrain site.
More advanced programming possibilities.
When it comes to MakeCode, students can use the Finch 2.0 with a Chromebook and download programs right onto their micro:bit. Students can use MakeCode with their Finch Robot 2.0 if they have a Mac, Linux, Windows, or Chrome devices. The BirdBrain team recommends using MakeCode with Chrome for the ideal experience but it should work fine on all browsers. The MakeCode coding environment is block-based as well and accessible online. All you have to do is search for the Finch extension. Once you write a program in MakeCode, connect the Finch to the computer with the USB cable to download it onto the micro:bit.
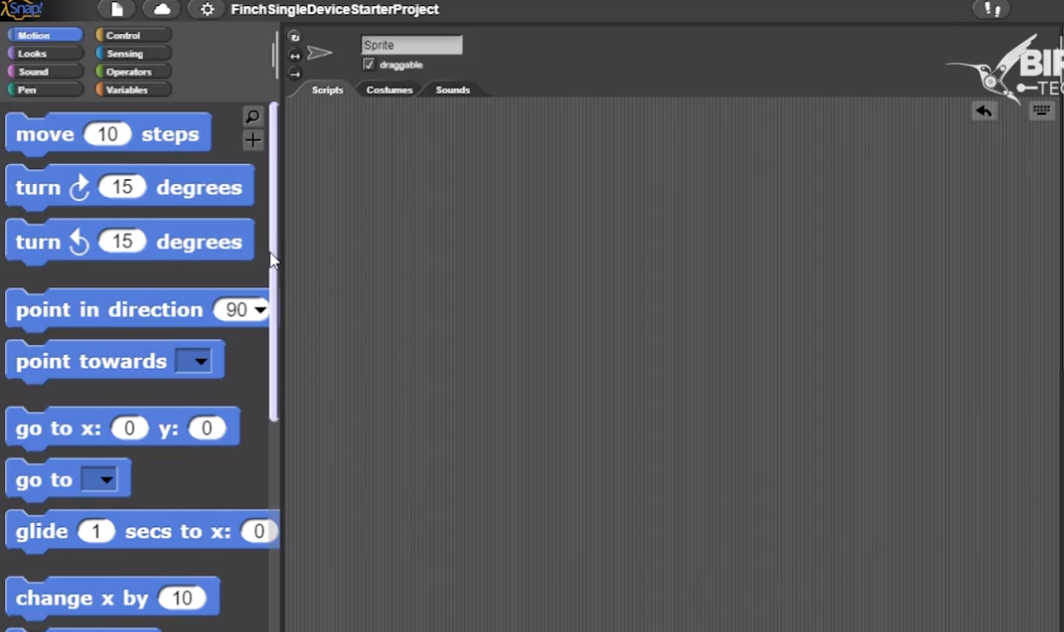
Snap! is the fourth way to code with the Finch 2.0—another block-based option for all Windows and Mac users. To utilize Snap!, you'll first need to install the BlueBird Connector software onto your computer. The Windows and Mac versions are both easy for educators to download. If using a Windows computer or a Mac from pre-2014, you will need to use BirdBrain’s Bluetooth dongle as well. When opening the BlueBird Connector, make sure there's a green check next to the Bluetooth symbol and select your robot. Then, just click on the orange Snap! button within BlueBird Connector to get started—students could even use Snap! to code with the Finch Robot 2.0 on or offline! You can feel free to minimize the BlueBird Connector as well while programming or use it to check your robot’s battery level.
Text-based coding options.
Then, we have text-based coding with Python, which students can explore when using their Finch on Mac or Windows computers. The Finch 2.0 connects to their computer via Bluetooth with native Mac Bluetooth functionality or by using the Bluetooth dongle. The robot works with most Python editors, but the BirdBrain team recommends using IDLE. You’ll just have to install Python onto your computer as well since browser options will not work. From there, students can start creating text-based programs to run on the Finch!
Finally, we have Java, which students can use to control the Finch’s wheels, lights, and buzzer. Using Java also requires the BlueBird Connector and a Bluetooth dongle for Windows computers and older Macs. This text-based coding option is also only available on Mac and Windows computers. As with Python, however, any offline Java editor is compatible with the Finch 2.0 and browser-based Java editors won't work as well. So, the BirdBrain team recommends using Eclipse. You can also download the Java software very easily. Once ready to go, check out some of the Java lessons from the BirdBrain team, including controlling the lights, exploring the sensors, and activities for creating loops in your classes.
New accessories for the Finch 2.0.
Aside from all the coding options, the BirdBrain team has designed some helpful Finch Robot accessories. Depending on how they like using their Finch Robot, students might find some truly enjoyable projects that incorporate these new wrinkles. The first of the new accessories, designed specifically for the Finch 2.0, is the Finch Arena. There's also the Finch Drawing Mat, Finch Math Mat, and the 5-pack of paint brush pens. You can find each of these new additions below as well as in the BirdBrain Tech section of our store.
The Finch Arena serves as a barrier and space for students to comfortably complete activities with multiple Finch Robots. It's made from corrugated plastics and super simple to set up. The area measures 93 inches wide and 45 inches long as well as four inches tall so that the robots stay within the borders. When kids are finished, the arena folds up easily, allowing teachers to transport, clean, and store it anywhere. Next, there is the Finch Mat, which actually fits inside of the arena for any educators who have both accessories.
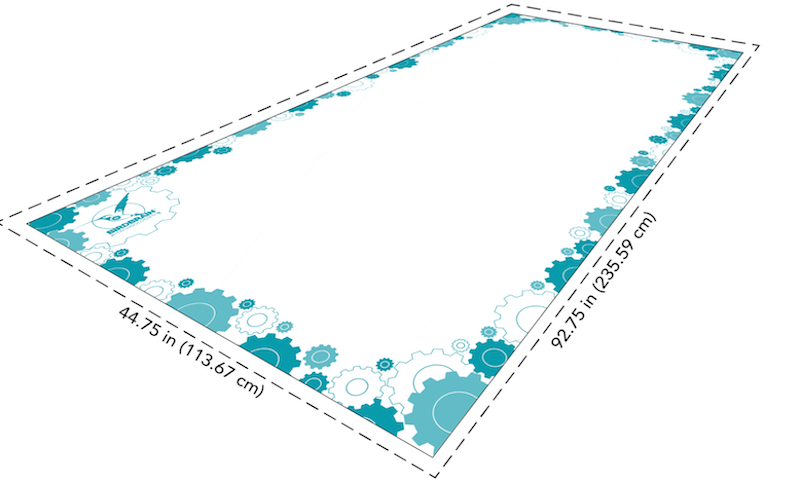
It features a 44 inch x 92 inch blank white surface that's also easy to clean. Kids can either utilize the Mat with or without the markers. If they choose, they can insert one of the Finch markers into the robot's built-in slot and create programs that get the Finch to draw on the Mat. Or, they can draw scenery first and then program their robot to perform any corresponding series of actions for that unique environment! One other popular way to use their Finch Mats is in math lessons, specifically with the new Finch Math Mat. Students can use the newly added math markings and spice up their STEAM projects with the Finch 2.0 by drawing number lines, shapes, or equations using the markers and their robot.
Adding the Finch 2.0 educational robotics bundles to your school.
There's definitely a lot to the Finch 2.0 and many ways for students to program its movements, LEDs, and more. It also boasts light sensors, a distance sensor, an obstacle sensor, and an ultrasonic sensor for even more programming potential. If you have any further questions about the Finch 2.0, feel free to contact our team! You can find the Finch 2.0 packs (with or without the micro:bit V2's) on our store (and below as well) along with the Finch Robot Classroom Flock for supporting up to 15 students at once. And, make sure you follow us on Twitter and Instagram for more on EdTech, coding, and STEM education!


2 Comments