We’ve been fans of 3Doodler for a while now. Their Start, Create, and Pro pens have been hits in the education world, largely due to their uber-versatile design. 3Doodler pens are jam-packed with functionality in a hand-sized package, so it’s easy to integrate them into any classroom. Each of 3Doodler’s three classic pens appeal to a different age group, with features specialized for various grade levels. We got a chance to try out the newest 3Doodler project, the Flow pen, and loved its smooth, user-friendly experience! In this blog, we’ll go over what makes the Flow pen great, give new users some tips, and check out the included project ideas.
Unboxing the 3Doodler Flow
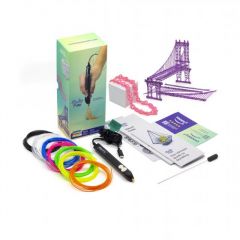
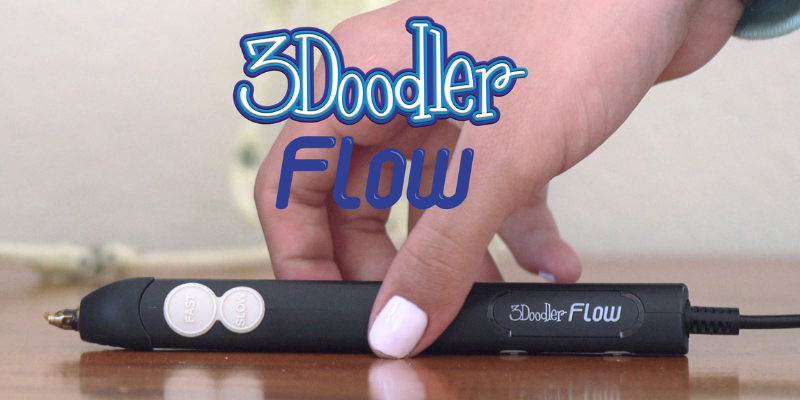
The 3Doodler Flow setup process, from reading the instructions to 3D printing a design, only took about ten minutes—though I spent a lot longer experimenting after that! The easy setup is great news for teachers without a lot of extra time on their hands. The box comes with everything you need for a quick start. You’ll find the pen on top, with an included USB-C cable and wall plug. The pen itself has a smaller profile than the 3Doodler Start pen. While the Start is thick, so young kids can grab it before they’ve developed fine motor skills, the Flow is meant for older kids (ages 14+). Thus, it’s only a little thicker than a standard pen, with a sleek black profile. The pen also has two speed buttons and a filament selector, along with a temperature display.
You’ll also find 80 feet of PLA filament in eight differently colored spools: orange, pink, yellow, white, green, blue, black, and clear. The filament can be used to make the designs on the included stencil, or students can come up with their own ideas. The stencil, which is made of smooth plastic for easy removal, has four projects: the Eiffel Tower, an LED candle holder, the Manhattan Bridge, and a bracelet. Students simply lay out the stencil (ideally on their DoodlePad) and trace the images. Each project includes numbered steps and diagrams, as well as a picture of what the finished product should look like. Conveniently, the smooth plastic makes it easy to remove the design after it’s hardened.
Go with the Flow: Why 3Doodler Flow?
All of 3Doodler’s pens have their own special features, so why choose the Flow over the others? One stand-out element is the digital display. Of the other 3Doodler pens, only the Pro has a digital display, while the Start and Create do not. That means that the Flow is the only educational 3Doodler pen with a display. The display shows the current temperature and filament type—either PLA or ABS—which helps educators and students maintain the proper settings for the material they’re using. It’s also useful for troubleshooting. If the filament isn't coming out, it’s easy to see if the problem is a low temperature, for example.
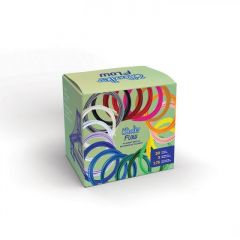
But perhaps the best new feature the Flow pen has to offer is that its filament now comes in a spool. Previously, users would have to repeatedly feed short strands of filament into the pen, slowing down printing. Now, spooled filament enables continuous printing as the pen automatically feeds material through when needed. However, there are new details to be aware of when using the spools. Unlike the strands, the spools make it more difficult to switch colors in the middle of a print, if necessary. It also takes a few minutes to get the hang of keeping the spool organized during printing. The spool tangled with the power cord a few times while I was printing, and although this did not cause any mistakes in the print, it still took a little effort to untangle. However, the overall convenience of the spool outweighed any difficulty in organization.
Using the 3Doodler Flow
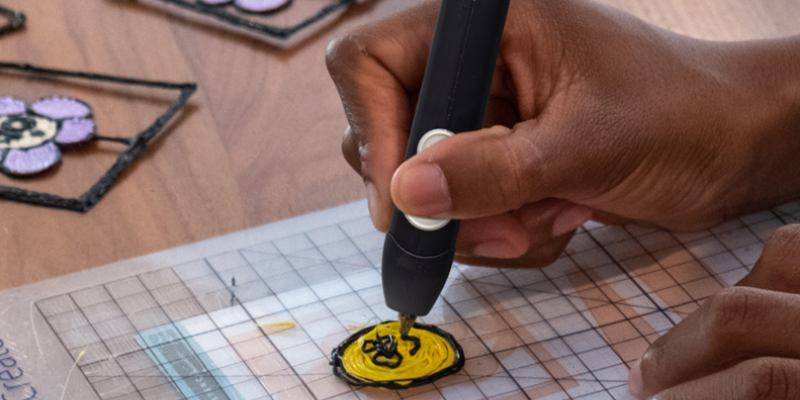
The first step to using the Flow pen is easy—just plug it in! Use the display screen and the plus or minus buttons to select the type of filament you’re using (either ABS or PLA). Click the “Fast” button to lock in your selection, and the pen will automatically heat to the proper temperature for that filament. The pen will flash green when ready to extrude. Press either speed button to enter drive mode and insert the tip of the filament into the hole underneath the power cord. Push the filament until the gears grip it. After a few seconds, plastic will begin to extrude from the tip of the pen. Be sure students don’t touch the hot tip! Click either speed button to stop extruding, or double click to reverse the plastic. If the filament gets jammed or stuck, use the unblocking tool to extract it.
3Doodler Flow Lesson and Activity Resources
Besides the included stencils, 3Doodler has an extensive list of teacher-created lesson plans. Each lesson is tagged with its length, standards alignment, skill and grade level, and subject. For example, in the lesson “My Land,” students use their knowledge of geography to create a paper map with at least one 3D printed landform, developing geography and map-reading skills. STEM lessons are in abundance, with activities challenging students to design a prototype of a chair or print a model of an atom. The resource library also includes lessons on art, history and culture, and language, allowing teachers in any subject to bring creative STEM learning to their classroom.
Troubleshooting Tips
Once I got used to the 3Doodler Flow, the controls became intuitive, but you’ll definitely need the instructions for the first couple of uses. When setting up the pen for the first time, I didn’t have easy access to an outlet, so I plugged the USB-C cable directly into my computer. Although that provided enough power to turn on the pen, it wasn’t enough to fully heat up the filament. The pen wouldn’t extrude any filament because it wasn’t getting hot enough to melt it! However, once I plugged the pen into a proper wall outlet, it began working with no issues. So, if you’re having any trouble getting filament to come out, it’s a good idea to check the output of your power source. Plugging the pen directly into a wall or power strip is the best way to go—and it’s much safer.
Another obstacle I encountered was becoming accustomed to the speed of the pen. Although you must press the “Fast” button to lock in your filament choice, it’s a good idea to switch to the “Slow” speed when the pen starts extruding. Just click either button to stop the extruding process, then click the “Slow” button to start again at the slower speed. While the fast speed is more efficient, it’s difficult to control for beginners. New users should start slow, then progress to higher speeds when they’re comfortable with the interface.
Get 3Doodler Flow for your class
Overall, the 3Doodler Flow is a valuable addition to a makerspace, art classroom, or STEM curriculum. Meant for upper middle school and high school, this pen will bring elements of design and creativity into any subject. Use it to craft illustrations for lessons, enhance a presentation, or model invention prototypes. To learn more about 3Doodler options, check out our blogs on their other pen offerings or explore the whole product line. You can also contact us to get a quote, or subscribe to our newsletter for news about 3D printing and other buzzing STEM topics. And as always, follow us on Twitter/X and Instagram for the latest updates!