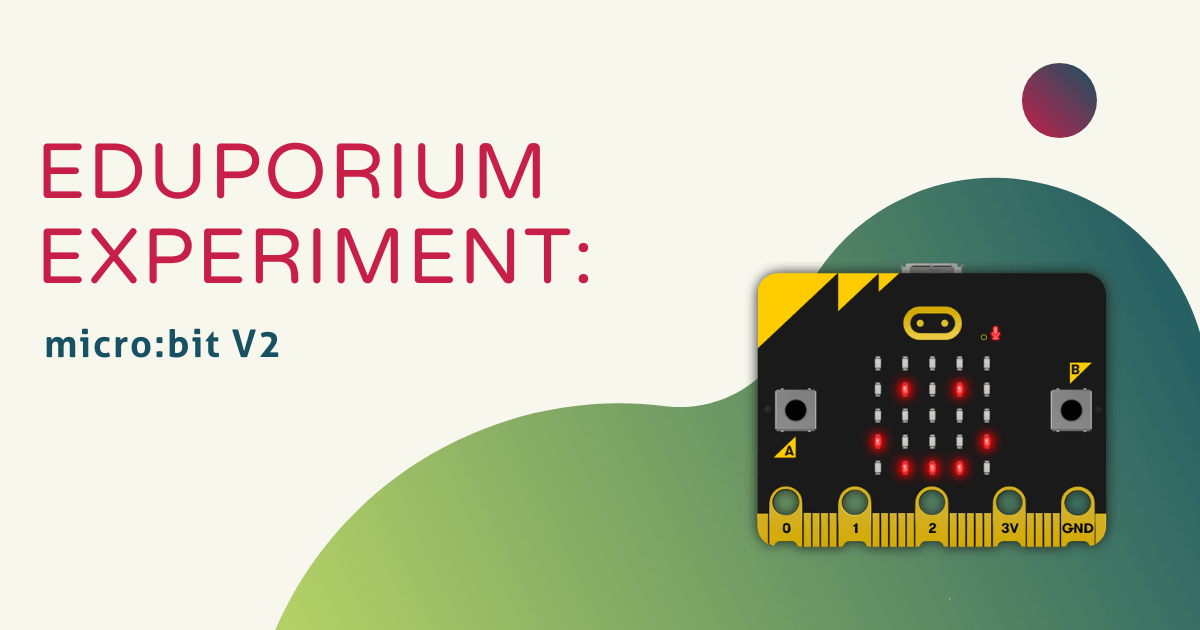
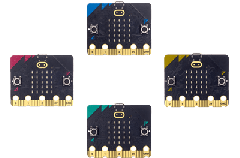
For this Eduporium Experiment, we explored how students could use the micro:bit V2 in impactful coding lessons. The micro:bit V2 looks real similar to the original micro:bit and costs the same but it also includes more powerful components that make it much more robust in terms of its potential within STEM education. Those additions include a built-in microphone and a built-in speaker, both of which are also programmable with this model. Using either of those components, students can create MakeCode programs that sense and react to sound. They’ll also learn a lot about beginner-level coding along the way.
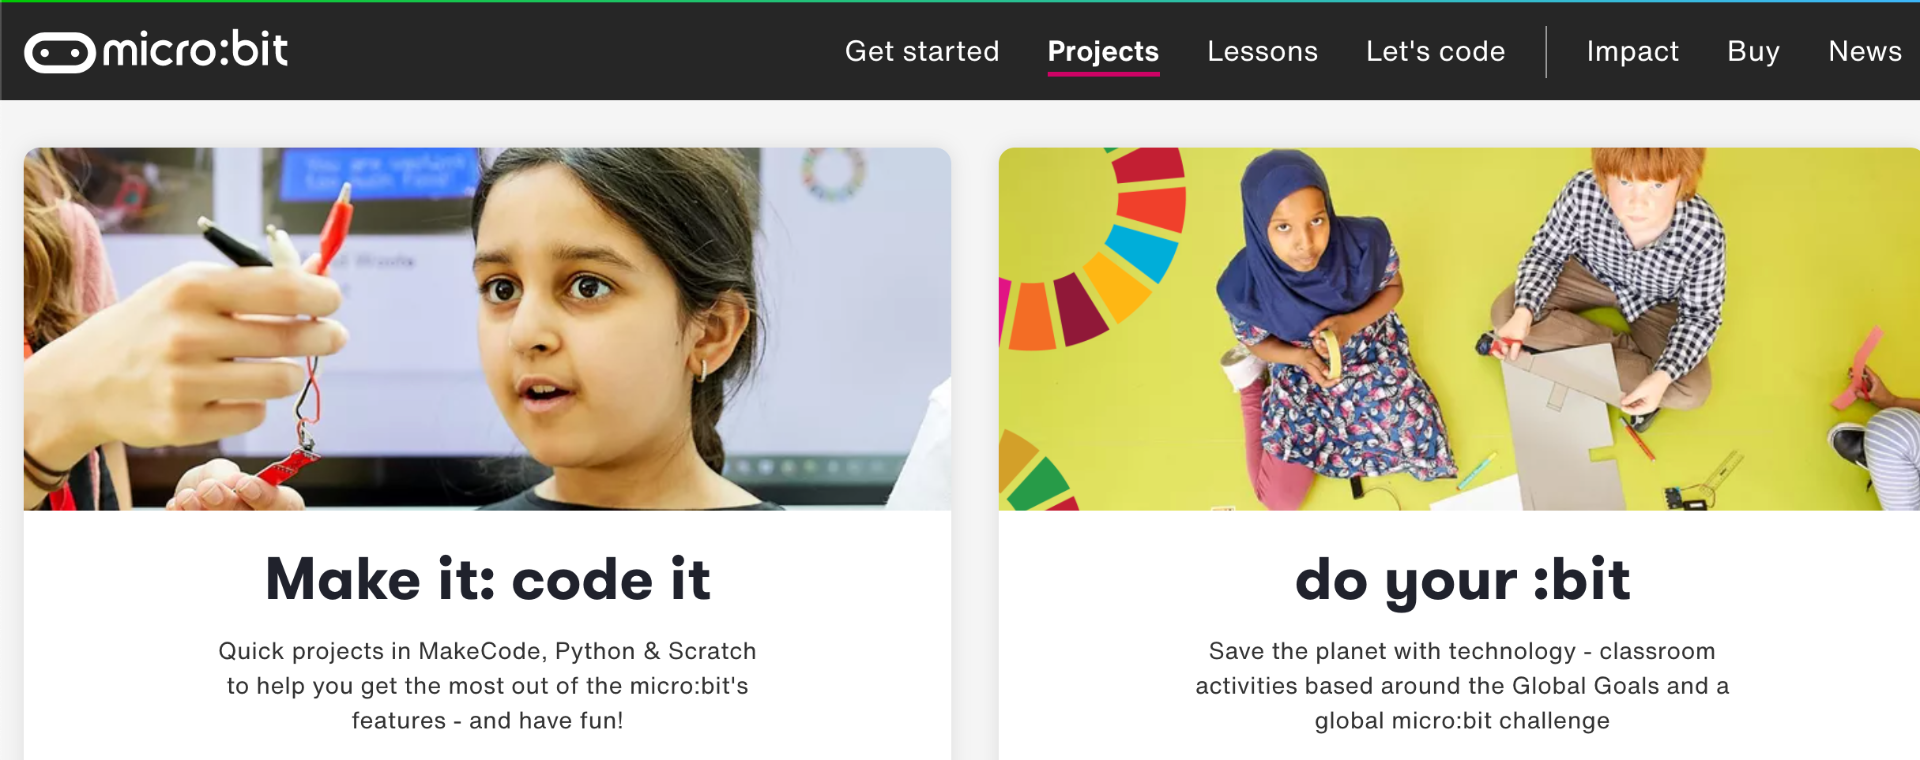
One nice thing about teaching with the micro:bit is there are helpful resources available to teachers on the micro:bit website. These include guides for getting started with the micro:bit, project examples, CS lesson ideas, and more. For the purpose of this post, we’re focusing on the projects available across the micro:bit website. You can find these by clicking on the Projects tab in the black banner at the top of their site. Once there, you’ll see the section called Make it: code it. This will lead you to all of the micro:bit projects that are available for teachers to use as guides. Whether using the micro:bit during class or as part of afterschool programs, these activities are very beneficial. They each provide a quick but comprehensive starting point for students to code, make, and more.
If you are new to the micro:bit or you think you might benefit from a refresher before jumping back in after taking some time away from it, the Get Started section on the micro:bit website contains a host of helpful information. In order to use the micro:bit V2, kids will need the micro:bit board itself, a device (computer, laptop, or tablet), and a USB cable, which does not come in the micro:bit V2 Single Kits, but is part of the micro:bit V2 Go Kit. As an alternative, students could also use the micro:bit without a cable if they have a compatible Bluetooth-enabled device. If using a computer, the USB cable connects to their micro:bit and computer using the standard port. If using a mobile device, students would create all programs using the micro:bit app as opposed to the MakeCode software.
There's hardly any setup for using the micro:bit to code, especially if children aren’t pairing it with a device. If they are using Bluetooth, however, they’ll just need to pair their micro:bit with the device. From there, it is as easy as creating a program and loading it onto the micro:bit to run it. To access either the MakeCode or Python coding editor through the micro:bit website, click on the Let’s Code button. Then, simply select the option you want to use. We’ll focus on the MakeCode editor since it's a better option for students new to coding and to the micro:bit. Clicking it allows them to create new projects, name it, and head to the block-based coding environment.
Once children have a program created, the next step is to transfer it onto their micro:bit. To do this, they'll simply need to connect their micro:bit to their computers and click the purple ‘Download’ button. This will create a .hex file that will then save to their computer. Their micro:bit should appear as an available device called ‘MICROBIT’ and they can simply drag it onto that device.
The micro:bit also uses a process called ‘flashing’ to receive the program transfer from the computer. This means it's copying the program from the computer into its own flash memory. While the program transfers, it will blink yellow and, once the download is complete, it will begin running. The video above is real helpful for managing this process and, if you’re using the micro:bit with a mobile device, this one has more tips.
As for the project library, it’s an important component and definitely very unique compared to other project libraries. As of now, there are dozens of projects in the library for both the original micro:bit or the micro:bit V2. These projects may fall into one of three levels of difficulty—beginner, intermediate, and advanced. This helps instructors identify some of the ones they should be targeting based on their unique sets of students. Most of the available projects are suitable for beginners, so there’s no need for students to feel intimidated if they’ve never used the micro:bit or a programming interface like MakeCode before.
On the left of the screen, kids can sort the projects, which is helpful if they are looking for anything specific. The first option for sorting is to do so by programming language. Children can choose between MakeCode, Python, or Scratch. They can also choose to sort these projects by subject or topic, including the ability to quickly find some very relevant STEAM projects on relevant topics, like computational thinking, computer systems, digital arts, networks, programming, design and technology, geography, global goals, music, and the sciences. Students could also toggle the projects by micro:bit feature. If they wanted to focus on using specific components on their board, they could choose from the accelerometer, the buttons, the compass, the LED display, the light sensor, the microphone, the pins, the radio, sound, the speaker, the temperature sensor, the touch-sensitive logo, or the USB interface.
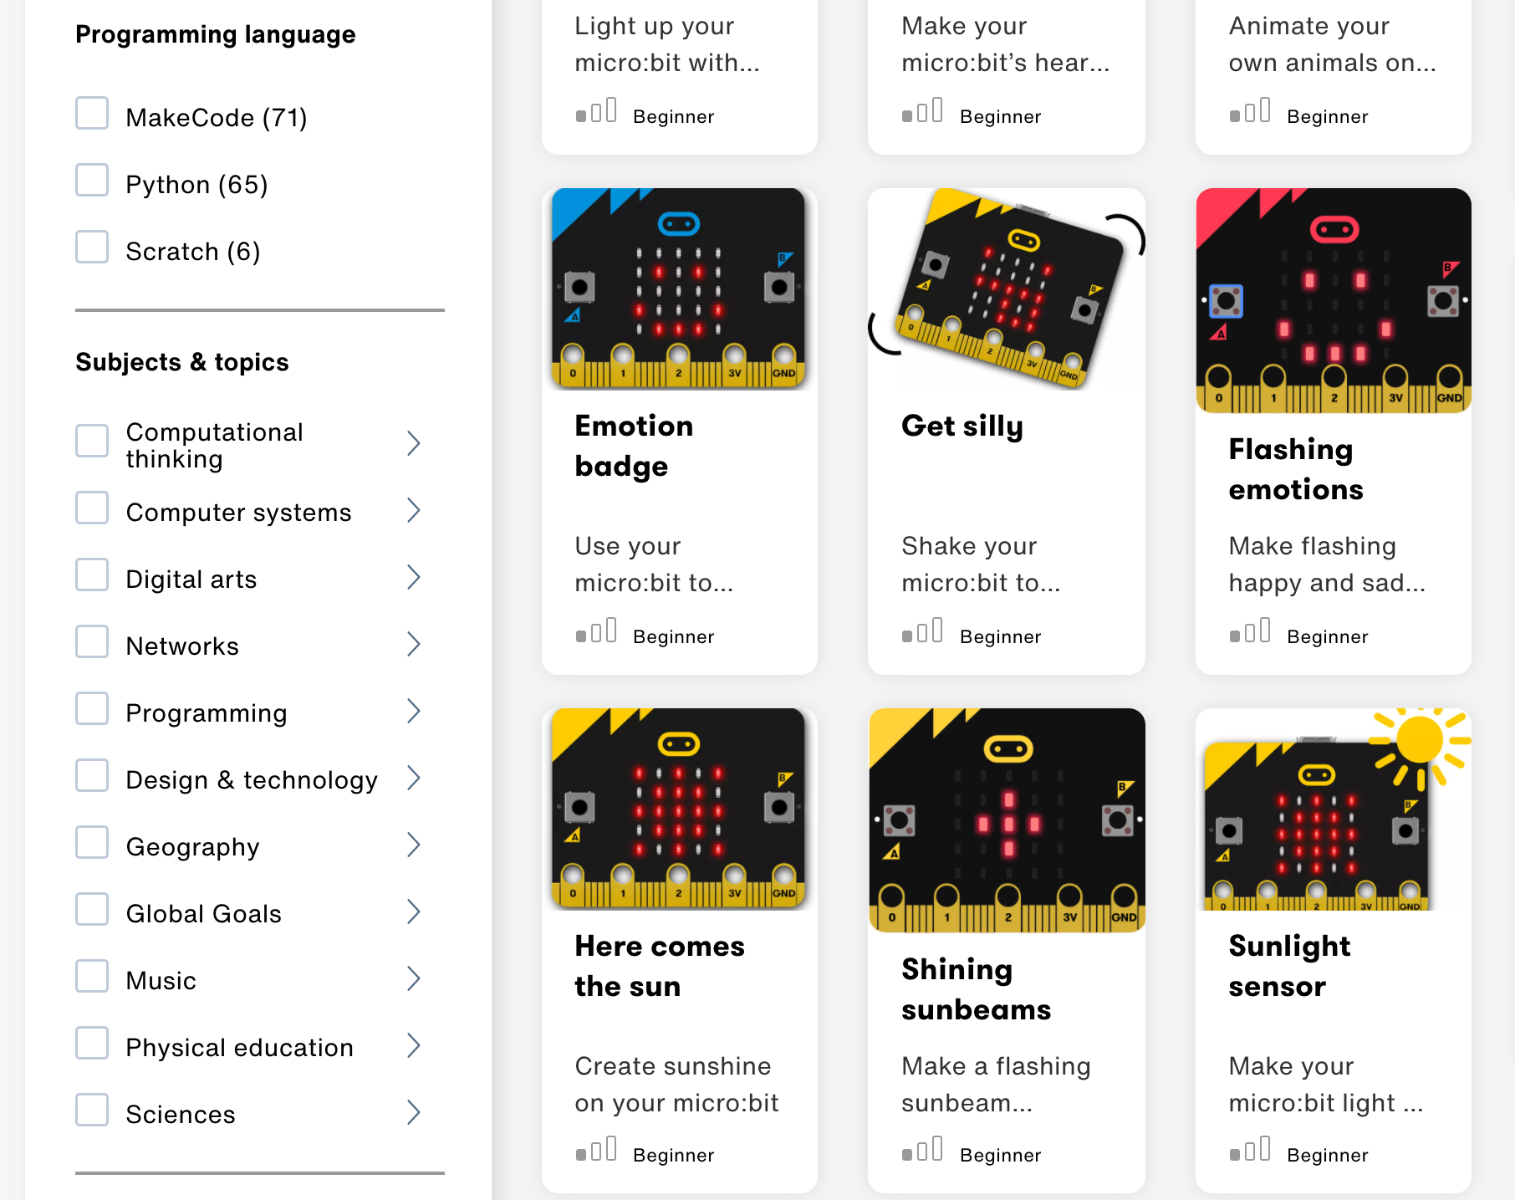
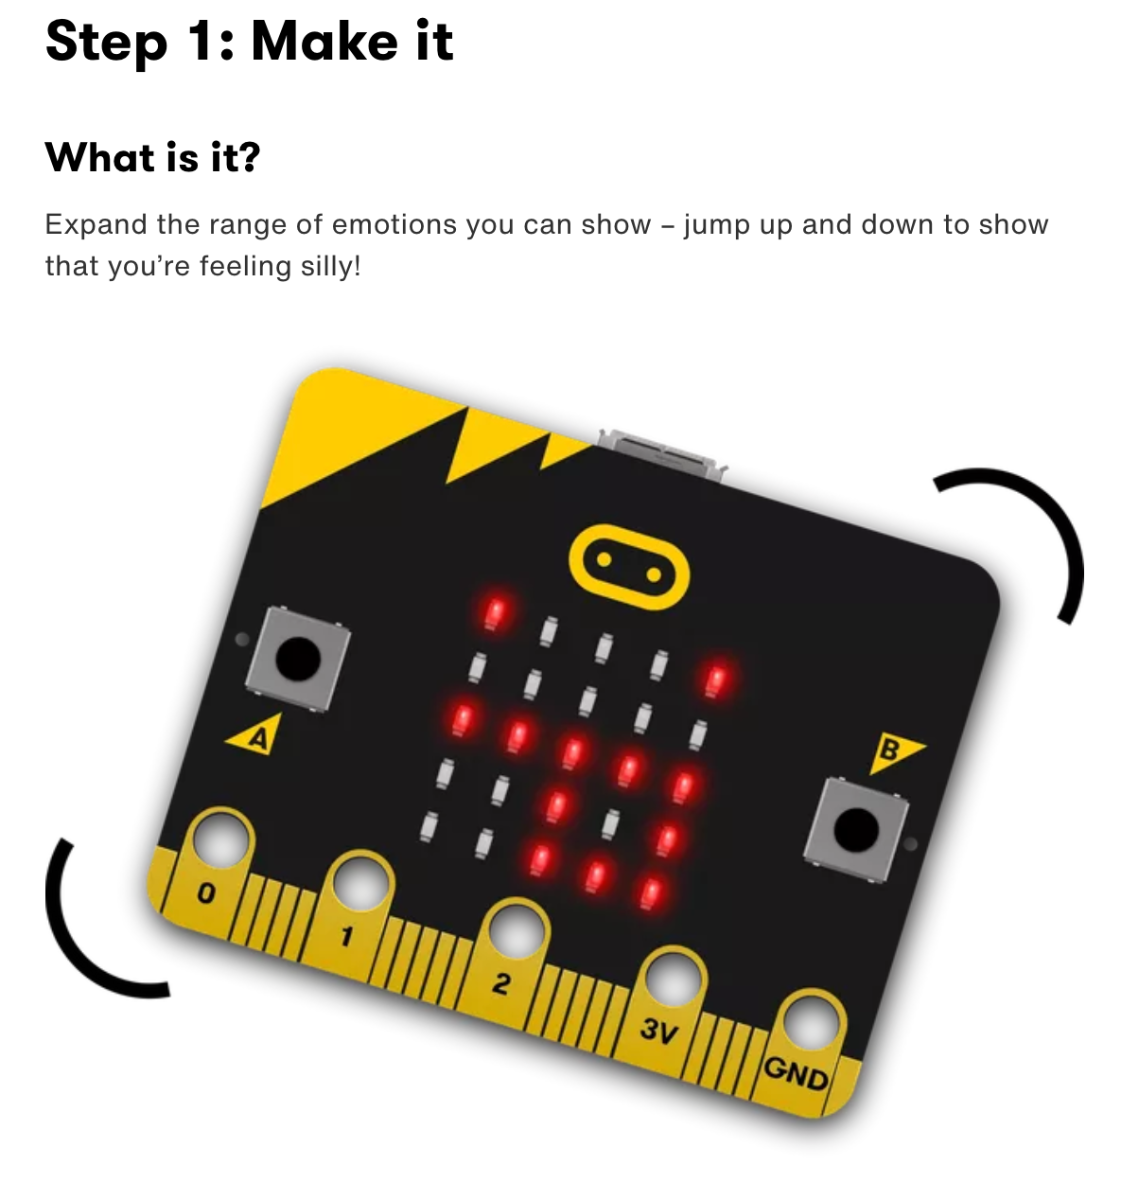
To put it to the test, I tried out a MakeCode project that incorporates the micro:bit’s built-in accelerometer. So, I selected the MakeCode check box and that accelerometer check box on the screen. The first project that popped up from that list was a beginner level project called Get silly. This project shows students that they can shake their micro:bit and, thanks to its accelerometer, their program will begin and display on the LED matrix. Students could choose to program the micro:bit to display any emotion they’d like. But, since this project is titled ‘Get silly,’ the recommended tongue-sticking-out face seemed pretty appropriate.
If you click on the Get silly project, all the information children need pops up starting with an explanation of how it actually works. The background insight helps kids to gain a broader understanding of the micro:bit’s sensors—most importantly, the accelerometer. They’ll probably be pretty surprised to learn that something that small can measure force and sense when it is shaken. In this program they create, the accelerometer will sense sudden movements when children shake the board, resulting in a face appearing on their LED's screen. They’ll also see all the components that they’ll use. All they'll need for the project is their micro:bit, the MakeCode editor, and a little energy to jump around. Also, the battery pack is optional for this project.
The great thing about the project library on the micro:bit website is that the code children need to run each project is right there for them. With the Get silly project, for example, this code can run in either MakeCode or Python, and students can choose to open it up within micro:bit Classroom, open it in MakeCode, or just download the .hex file right away. We recommend opening it in MakeCode and, once that’s done, students can see and edit the code. The two pink sections on the top represent the A button and the B buttons from the board. When they press either of those buttons, the micro:bit then displays the corresponding emotion, but, when the micro:bit is shook, it will display the silly face!
Students can then download their program and try out the different ways to get their micro:bit to display its emotions. A great thing about the project is that, like most projects in the library, their entire code is already there. And, it's just one of many they can try when they get their hands on the micro:bit. We definitely say it all the time, but there really is so much students can do with the micro:bit V2. We'd strongly encourage you to check out the various project examples inside the library. To place a micro:bit order or ask any questions about the PO process or the board, visit our store below. Follow us on Twitter/X and Instagram as well!


