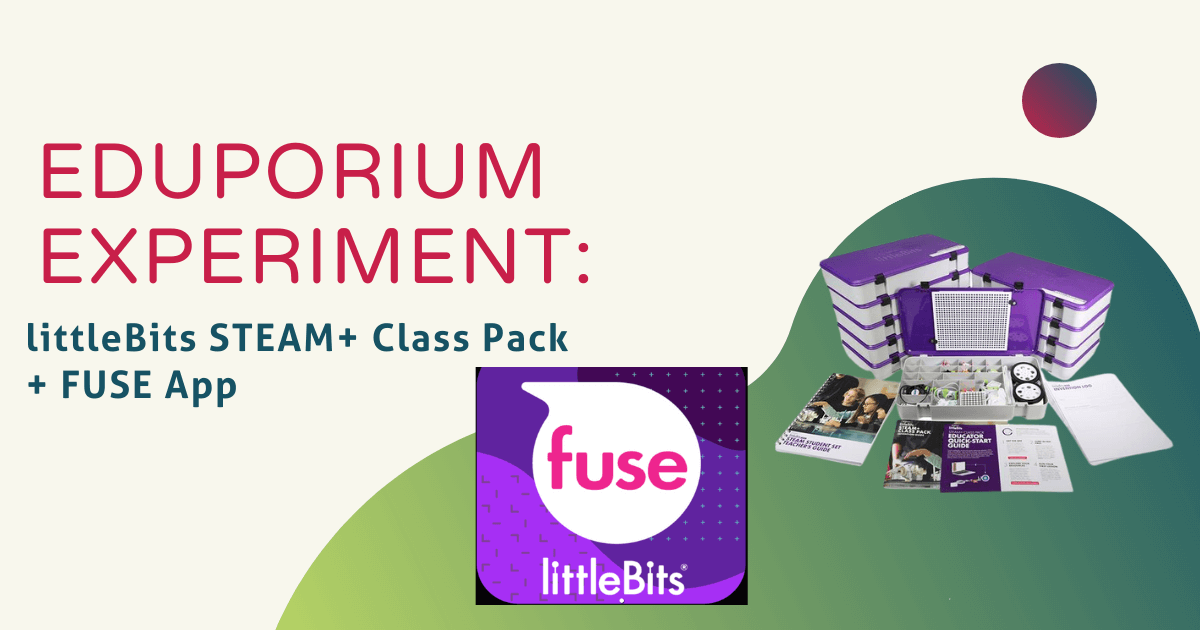
The Sphero team announced the upcoming release of a new littleBits classroom kit known as the STEAM+ Class Pack. It contains well over 200 different Bits, a storage container, and even standards-aligned lesson plans for students in Grades 3 and up to explore making, coding, design thinking, and engineering. It’s also going to work with the new littleBits FUSE app and, for this week’s experiment, we did a little research into what kids can do with both the components in this kit and the desktop app. Now that the STEAM+ Class Pack has started shipping, sit back and learn about some of what will be possible!
Let’s start with the kit itself. As a class pack, it’s built to support an entire class of students in STEAM and MakerEd activities. Kids can easily store and transport the materials using the carrying cases, and getting started with making projects is fun. The kit also comes with printed teacher materials and lesson guides so students can work independently. It is also possible to separate the pieces and give them to individual kids to take home with them if they’re going to be involved in a hybrid model this school year. If you want to try this, however, we recommend being careful or using baggies to avoid losing pieces.
Students can start with guided projects, which help them prepare to think for themselves before moving to more open-ended challenges. Even while they build inventions following their included guides, they'll get to use and develop various STEM skills, including looking at things from the point of view of an engineer, a physicist, an artist, and a designer—all of which are obviously important STEAM skills to possess. It’s also important to note that, since the curriculum guides are printed, students can use the STEAM+ Class Pack without a device. As mentioned, however, it's much better with the addition of this FUSE app. Educators can also find relevant lessons on littleBits Classroom or explore other options for Sphero at home.
The FUSE app is actually going to be very useful when it comes to the remote learning aspect. While many STEM manufacturers have shifted some product offerings to include virtual versions in the last few months, including Wonder Workshop, Root, and others, this new wrinkle to learning with littleBits will help make remote making and inventing easier on students. Using the FUSE app, students can create virtual littleBits circuits on their computer and create code for controlling it.
The Sphero team's released content for using the FUSE app for programming virtual inventions, including with conditionals, loops, and functions. To begin utilizing the FUSE app, you'll need a littleBits Classroom account—as an educator, you’ll create the Educator Account. Once you create the account, you’ll need to create a class under the Account Dashboard. Then, simply give your class a name, select your grade level, add students to each roster, and save. You’ll then receive a unique classroom code for each class' access and you’ll be ready to use the FUSE app.

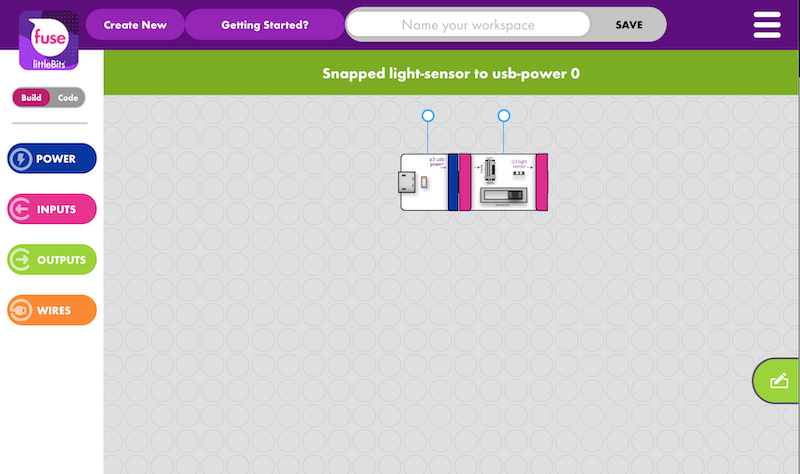
The FUSE app is web-based and kids can access it using the link in the previous paragraph. The next step is to log in using your account credentials. Then, you can provide students with the access code and Bit so that they can log in as well. Once navigating to the FUSE app, you’ll see the programming field and options for each of your the types of Bits on the left side of your screen: power (blue), inputs (pink), outputs (green), and wires (orange). Directly above the four tabs, there are buttons for toggling between ‘Build’ and ‘Code.’ In the Build tab, kids can drag and drop the digital versions of their Bits into the field and, then once they have a circuit built, they can switch over to the Code tab to include some code!
The programming field within the FUSE app is the workspace and students can save their workspace by typing a name in the field at the top of the screen where it says ‘Name your workspace’ and clicking save. Also, the green notebook icon on the right side of their screen grants them access to the notebook feature. Here, students can write down notes or things they want to remember about their circuit or their code. Just remember—if you refresh a workspace or navigate away from it, it will disappear, so always save it!
When dragging various Bits into the programming field, students still have to be sure that the Bits they are connecting are compatible and able to come together to create a circuit. In this digital version, you’ll see a pop-up when you connect the Bits correctly. You’ll typically start with a power Bit to ensure the circuit can turn on and work well. Circuits can also include input, output, and wire Bits depending on what kids need.
Input Bits add control to a circuit using information that we provide or that it senses from the environment. Output Bits enable the circuits to complete actions—they’re the Bits that do something, like light up, buzz, or move. And, wire Bits enable students to expand their circuit’s reach and change its direction. These will typically help makers place their circuits where they need them to be.

To start building, click on one of the circuit groups and the various options all appear. If you have a power Bit and USB cable, you'll select that and, if not, just select the standard one. To add Bits to the workspace, simply click it, keep pressing down, drag it into the workspace, and let go. A green message should appear to let you know that you added it successfully. Once the Bit is in the field, kids can also rotate it by clicking on it and holding the mouse down on the white and blue circle that appears.
The next Bit to add is an input Bit, so click the pink tab and select the one you want. I tried the light sensor Bit and dragged it next to the power Bit. I then placed it right next to the power Bit and heard a sound that let me know it connected successfully (along with the message in green). Then, I added my codeBit and an output Bit (the number Bit) to complete this sample circuit. From there, connect the codeBit to your device by clicking ‘Connect codeBit’ at the bottom of your screen. The computer will prompt you to connect your powered-on codeBit to your computer using Bluetooth and you're good to go.
Once connected, you can move into the Code tab and create a block-based program for what your circuit should do. You can use either block coding or switch to JavaScript (text coding) by clicking the ‘JS’ button. Once kids build their program, they can click ‘Run Code’ to see it in action! With the addition of this virtual coding environment, inventing with littleBits is much more engaging and accessible and even though I only used it once—I can say that it was easy to navigate.
We'll keep you up to date on when the STEAM+ Class Packs begin shipping, but all teachers and students can try out the FUSE app now. It definitely adds options to coding education especially in remote learning and exposes students to new block and text coding. Check out the other littleBits kits on our store and be sure you’re following us on Instagram and Twitter, too.


