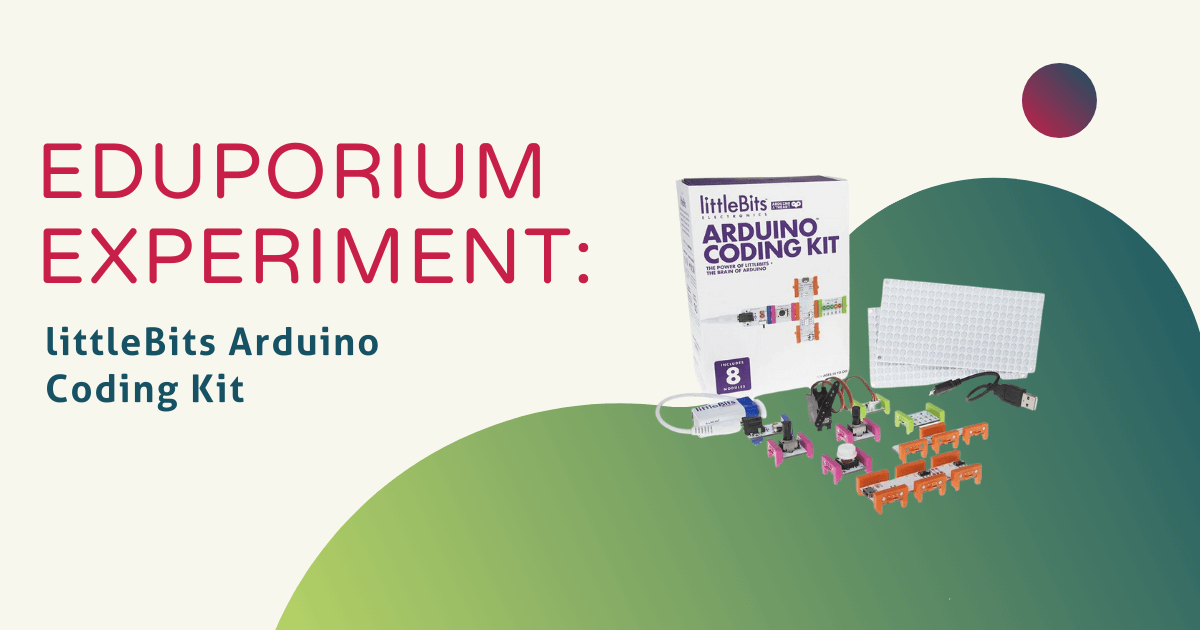
To some, the term ‘Arduino’ can be a bit overwhelming. Generally, when maker-minded teachers and learners hear ‘Arduino,’ they tend to think of high-level devices you build yourself, write the code for and then program it to execute whatever function it is designed to complete. If you’ve heard of littleBits, however, you know that these electronic building blocks define simplicity. They wanted a way to combine Arduino power with LEGO simplicity and I think it’s safe to say that, with littleBits they definitely did.
This set of innovative tools is legitimately able to teach students the basics of programing using simple snap-and-go technology. I saw firsthand almost immediately how it is able to combine invention with programming to teach kids how to code while they design, build and customize their own creations. If you’re familiar with the littleBits kits, you know that each Bit has its own specific function, including power, buzzers and sensors just to name a few. Well, now students are able to program the functions that their Bits have, taking student empowerment to a whole new level!
There are so many projects that kids (and adults) can do with the Arduino Coding Kit and, to be honest, I had a bit of a tough time deciding on just one! Just glancing at the littleBits site real quick, I thought that the DIY Computer Mouse sounded pretty cool, so I decided to give that a try. The included guide book tells students every component they need to complete each project and, for this one, I needed the mounting board, USB cable, battery, servo, power module, fork module, dimmer module, button module, bargraph module and the Arduino module.
Building the circuit was a piece of cake—all I had to do was look at the diagram to see where I needed to place each Bit. Then, I had to download the Arduino software, which the thought of was a bit intimidating, I have to admit, but it was easy to install and launch. Since I had my circuit made, I just had to plug it in via the USB port and turn the blue power module on. All I had to do was open up the programming field and find the “DIY Computer Mouse” sketch in the “other files” section. I completed my sketch and uploaded it to my Arduino module using the “compiling sketch” feature on the Arduino software.
Once the program uploaded, I could use my circuit just like a regular mouse with the dimmers acting as the x and y positional control and the button module was all I needed to left click. It was so easy!
If you have any ideas or suggestions for products you’d like to see featured on the Eduporium Experiment, let us know! Comment below or send us a message on Twitter or Facebook!


