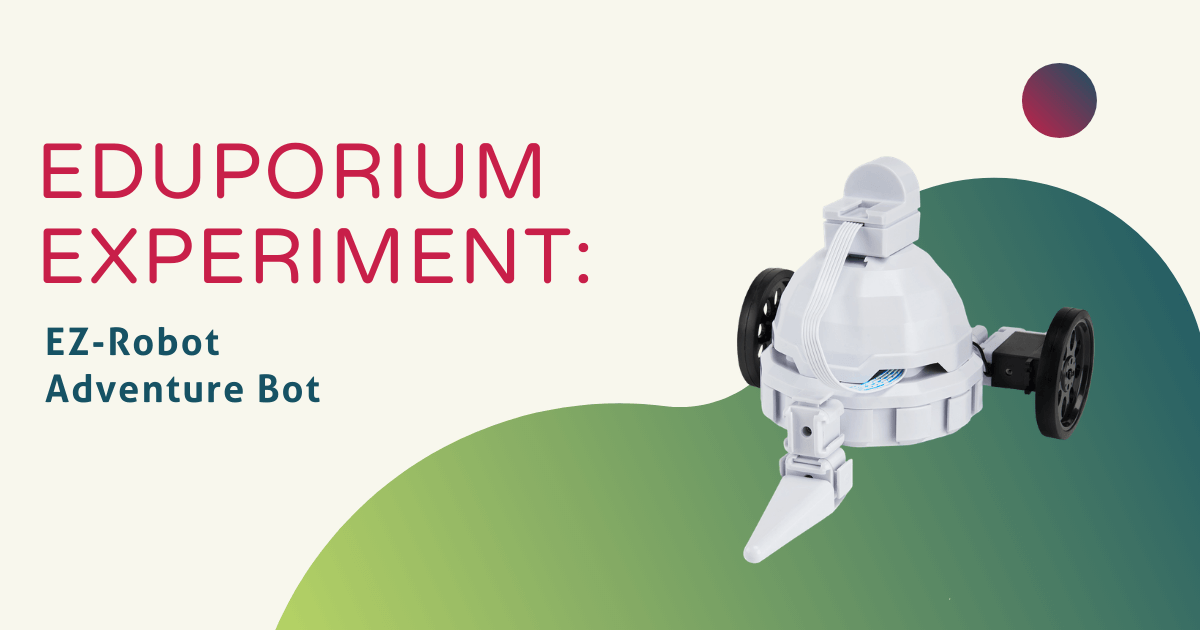
When we were first introduced to EZ-Robot a couple of years ago, there were three main models that attracted us. First there was the JD Humanoid, then the Hexapod, and, finally, the Rover. Since that time, we have discovered more products in the EZ-Robot line and have added all of them to our store. They really have thought of everything—well, just about everything. Joining the original models are a Battle Flipper, Galapagos Bot, and the subject of this week’s Eduporium Experiment—the EZ-Robot Adventure Bot.
The EZ-Robot is all about maximizing portability, incorporating engineering, and getting kids comfortable with controlling machines using computers. Before starting the experiment, I was researching the Adventure Bot and, right away, I noticed that it’s very similar to all the other models. In both texture and engineering, the Adventure Bot is composed of the same material as the other robots—light plastic, which, in some cases, can even be 3D printed. Like the others, the Adventure Bot can also be assembled by students, adding an element of engineering to learning about robotics.
The Adventure Bot is built with ez-bits, just like the other versions. It’s much smaller, however, but still able to do some pretty cool things. The Adventure Bot pairs with a computer over a Wi-Fi connection and kids can control the robot’s movements using the ez-builder software. This program allows students (and novices like me) to control the robot’s every move. It works in a similar fashion as programming a more complex robot, but, of course, this one is more simplistic. One of the coolest things about it, I thought, was that it almost mimics more advanced programming, but stays simple enough for the age group it’s designed for (11-13).
The components are described by EZ-Robot as ‘clip and play,’ meaning that they can be removed and added as students wish. It’s a pretty cool concept and one that allows for greater customization when students and making and tinkering with this tool. Building the robot was challenging enough as it comes almost completely disassembled. As I mentioned, though, the pieces slide together pretty fluidly and it didn’t take me long at all before I had it together.
The real fun with the Adventure Bot comes in the form of programming. You do need the ez-builder software in order to program the robot and that can be downloaded from the EZ-Robot website. It runs on Windows or tablets, so keep that in mind as well. Once set up, I recognized the programming method right away. The Adventure Bot uses Blockly for programming—a super simple programming language in which each block represents an input or an output. I started experimenting and realized how easy it was to get the robot to move forward, pause, and then repeat the action.
In my opinion, this is what takes the Adventure Bot to the next level. Sure, it would be fairly valuable if teachers were just using it to teach about robotics and engineering. But, add in the programming part and now the Adventure Bot is a bonafide STEM learning tool! If you’re looking for an interactive and easy way to introduce kids in middle school to programming (and have a reliable Wi-Fi connection in your school), the EZ-Robot Adventure Bot is something you should definitely look at!
To purchase the Adventure Bot, visit the Eduporium store! And, don’t forget to check back next Wednesday for the next edition of the Eduporium Experiment featuring the E-Blox electronic LEGOs.


